 "MM54" (mm54mk2)
05/08/2016 at 18:26 • Filed to: '71Chevelle
 2
2
 1
1|
"MM54" (mm54mk2)
05/08/2016 at 18:26 • Filed to: '71Chevelle | 2
| 1 |
This past Saturday was once again spent working on my Chevelle (click on the tag above to probably see the other posts) and was overall a productive time.
The first task for the day was to start removing the manifolds. I figured that after spending 45 years assembled this would be quite a challenge. The effects of time on the bolts also helped with this idea.
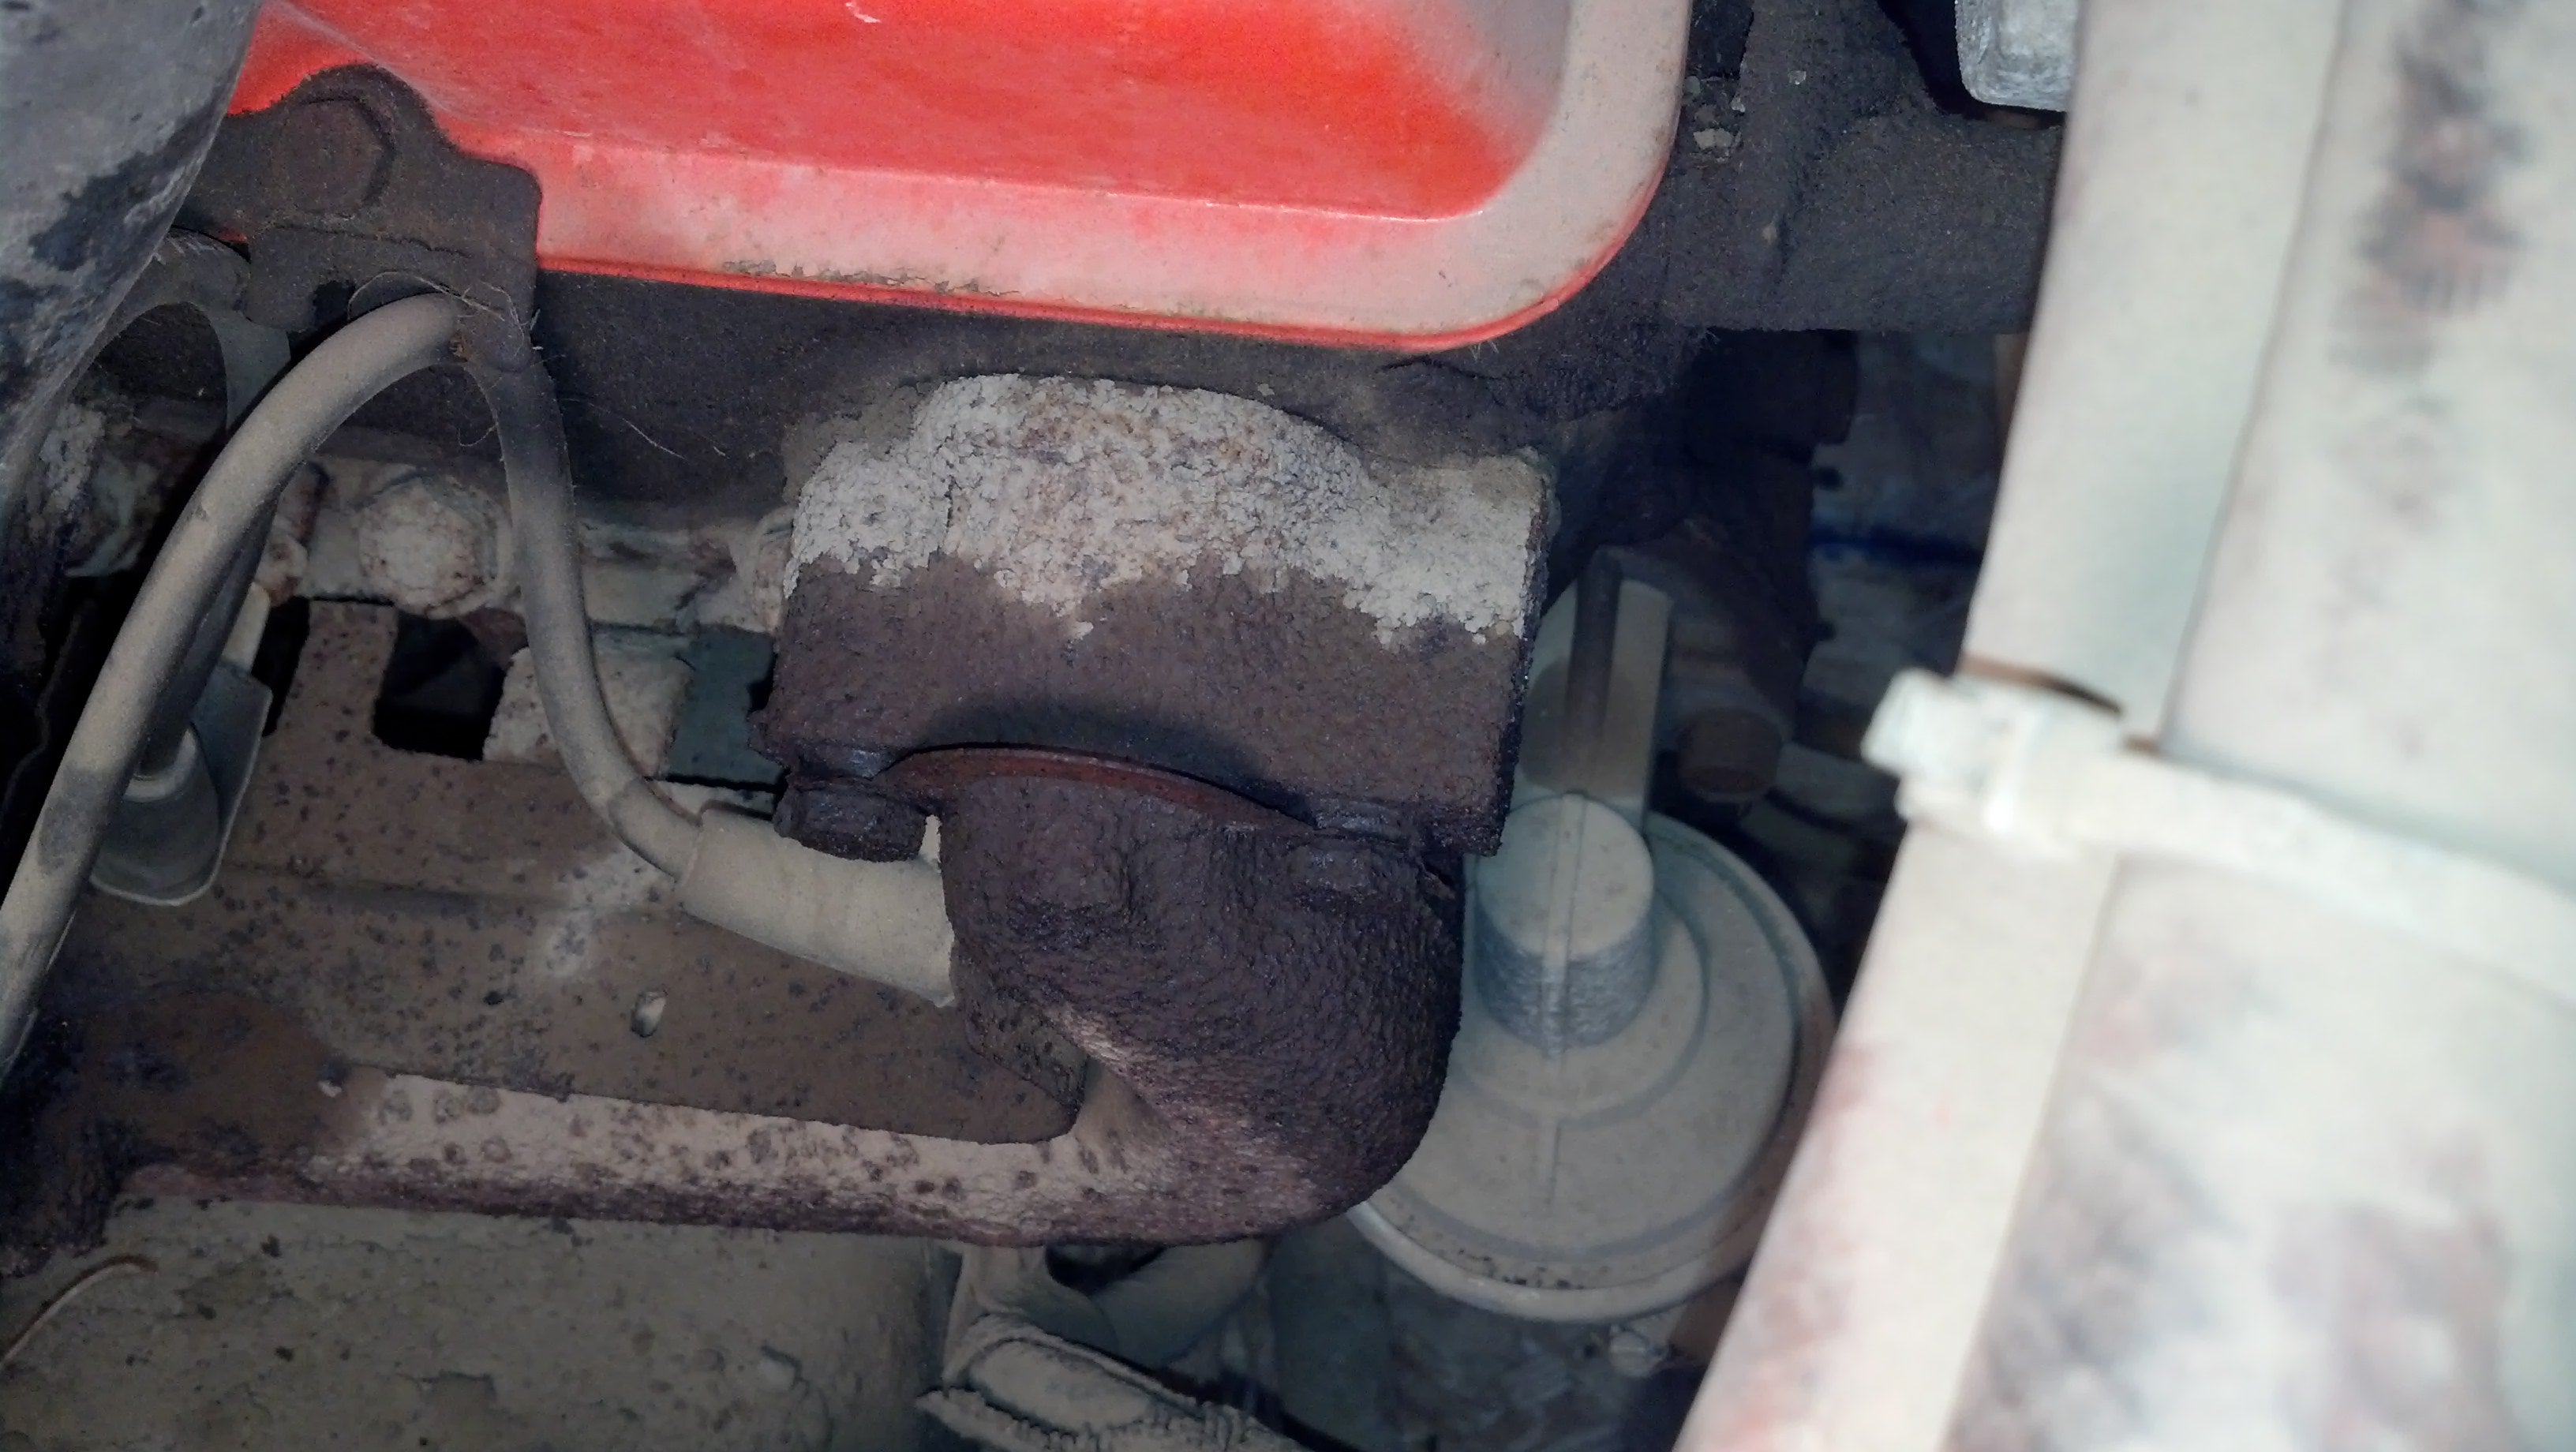
Crusty!
The past couple weekends I’ve been around, I’ve sprayed some Aerokroil on these bolts to help loosen them up, and I picked up a set of extractors to help since some were clearly no longer hex-headed.
To jump ahead a little bit - I used !!!error: Indecipherable SUB-paragraph formatting!!! extractors and they worked great, I’d recommend them or something similar if you think you’ll need it. This is the sort of thing I’d avoid The Plastic Hell Harbor Freight for, since you actually do want something strong enough to not just strip out.
Anyways, it was about 50/50 on bolts which a 9/16 fit on well and ones which needed those extractors. To my surprise, without anything more than a couple grunts and my SK ratchet, the bolts came right out.
Satisfying - and fun fact: There is no gasket.
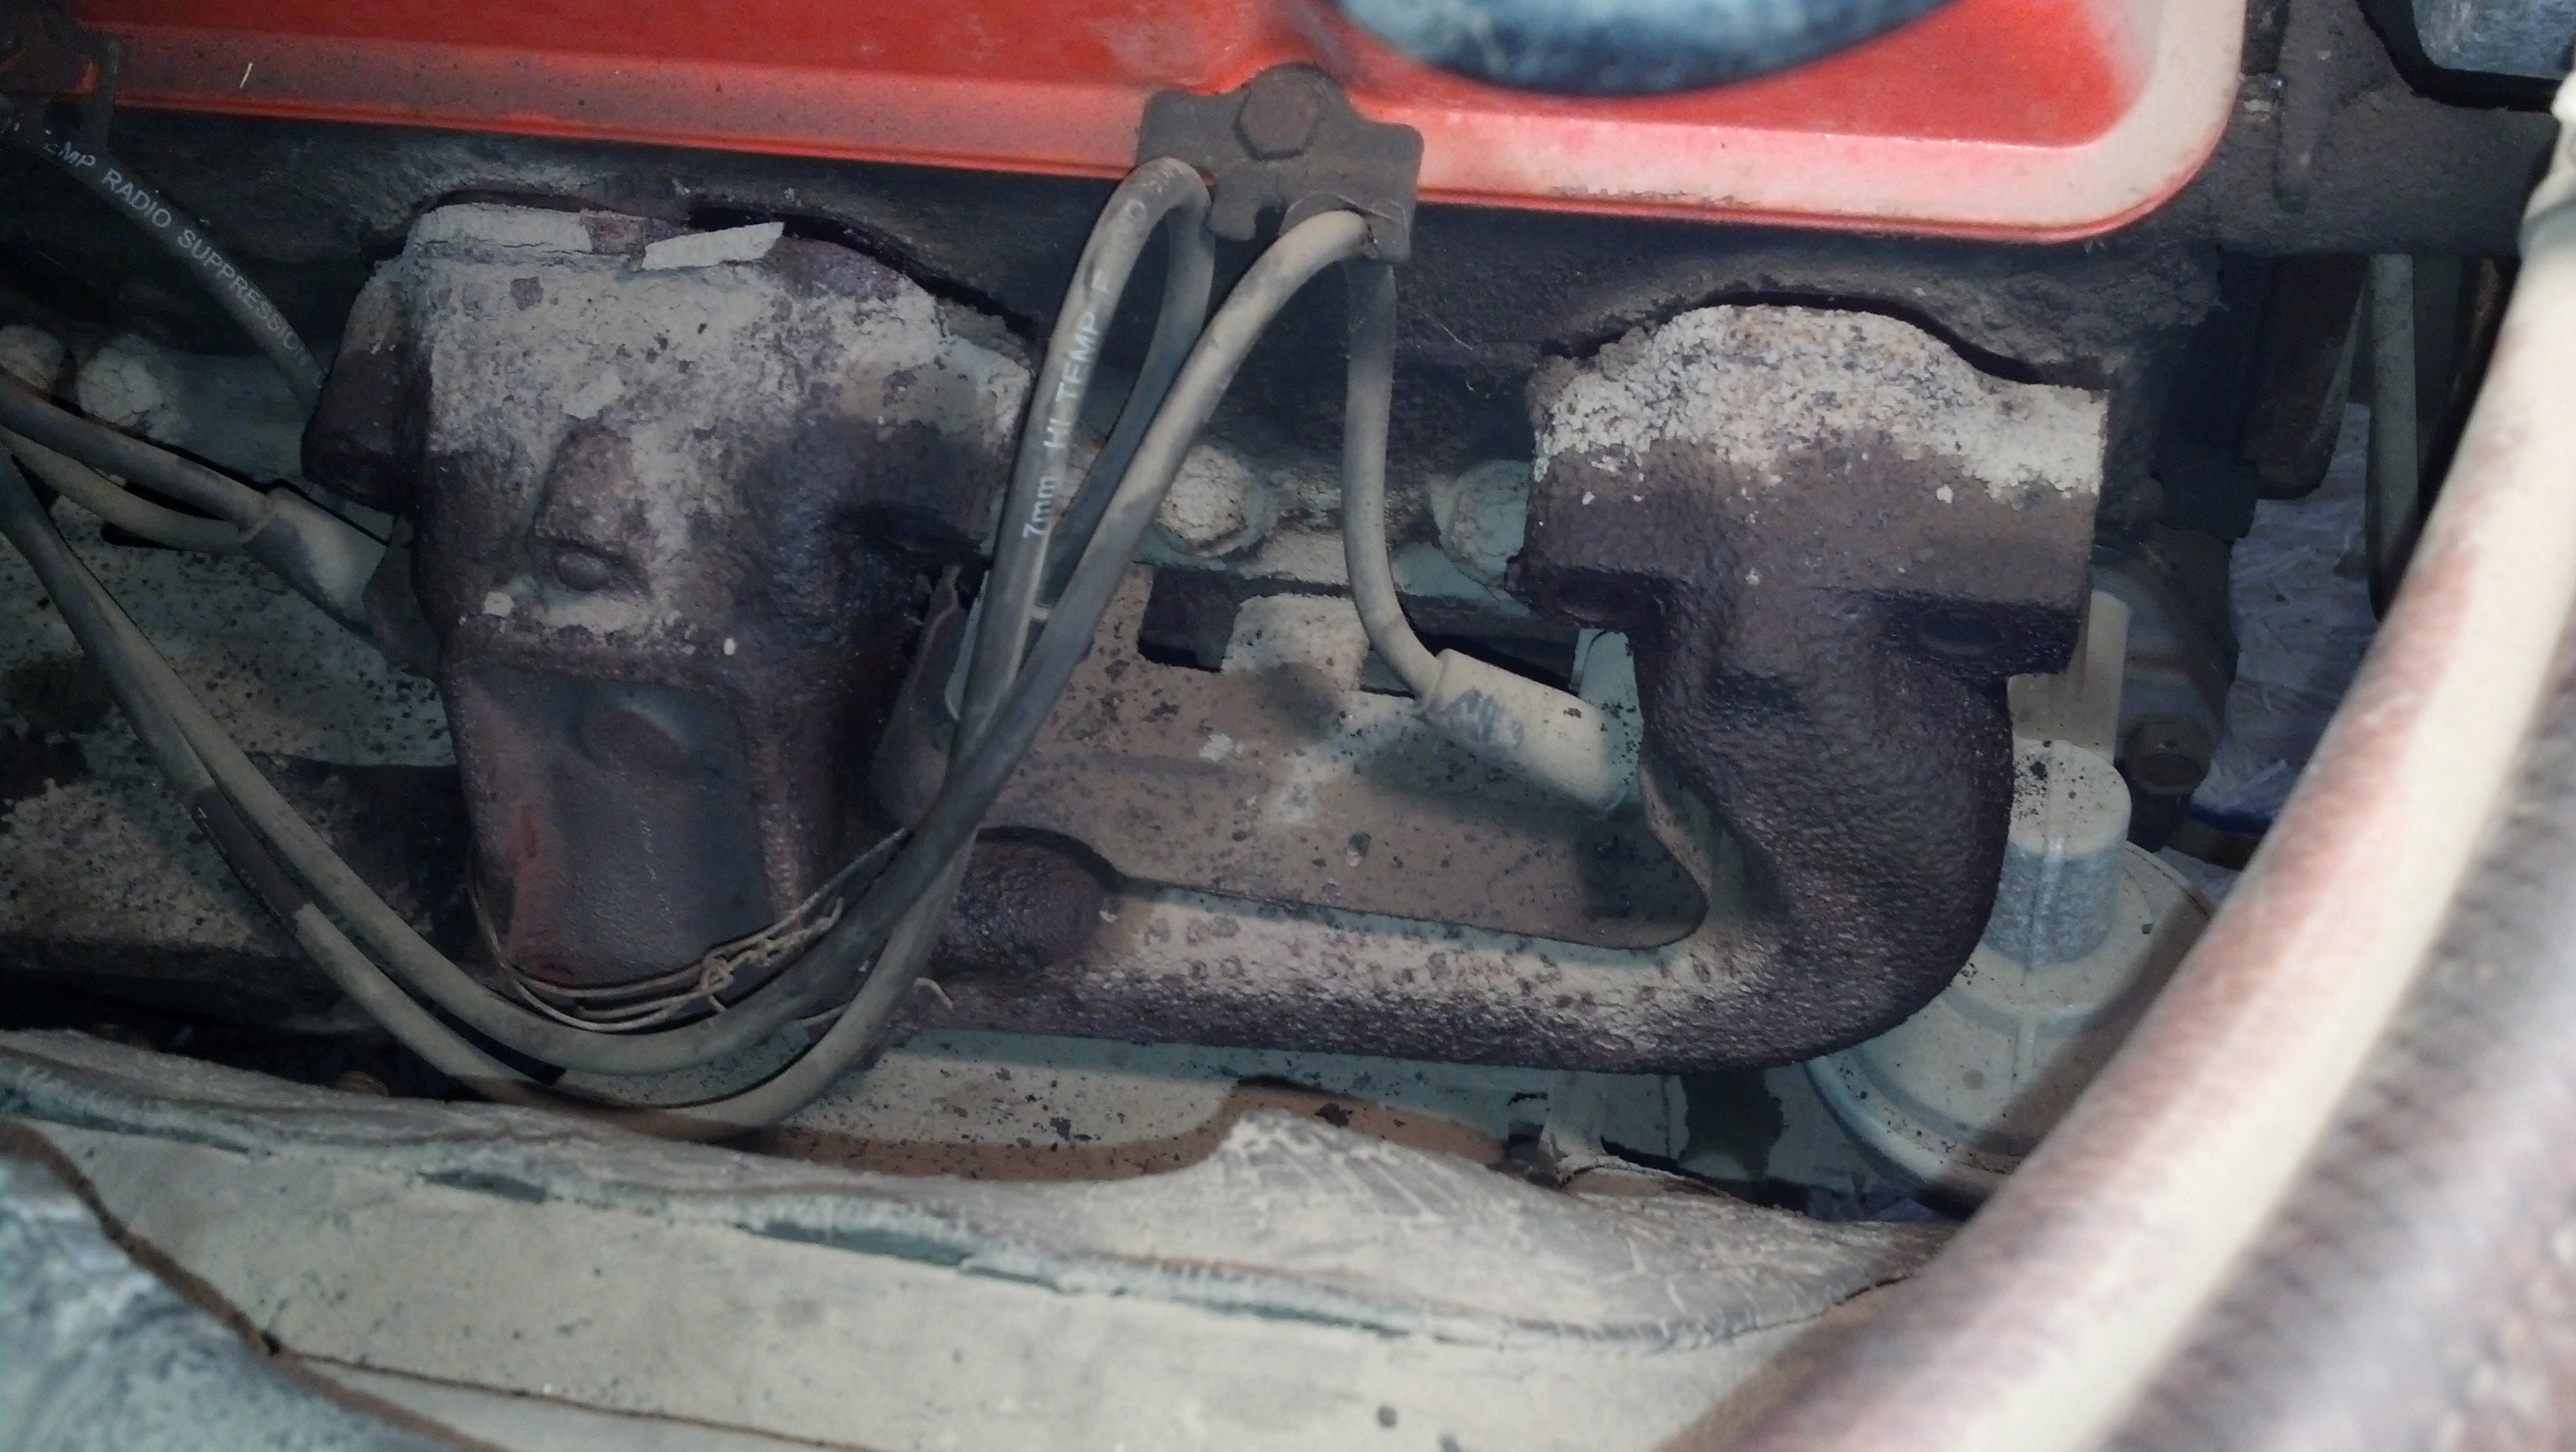
Moving on to the other side, the A/C compressor had to be moved out of the way to get access to the manifolds. Conveniently, since I can’t afford R12, the system isn’t charged. This made it possible to just unbolt the lines and brackets holding the A6 compressor in place (which weighs a TON by the way) and set it aside. Eventually this system will be getting overhauled anyways.
Bolts on this side were similar to the others, and once again came out without much exertion - once they popped, they came right out. It’s worth noticing that on this side there is a bracket which holds the rear of the A/C compressor, which will need replaced, as well as a bracket for the power steering, which can be re-used with a spacer and a longer bolt on the headers.
Not Shown: A/C Compressor and its bracket
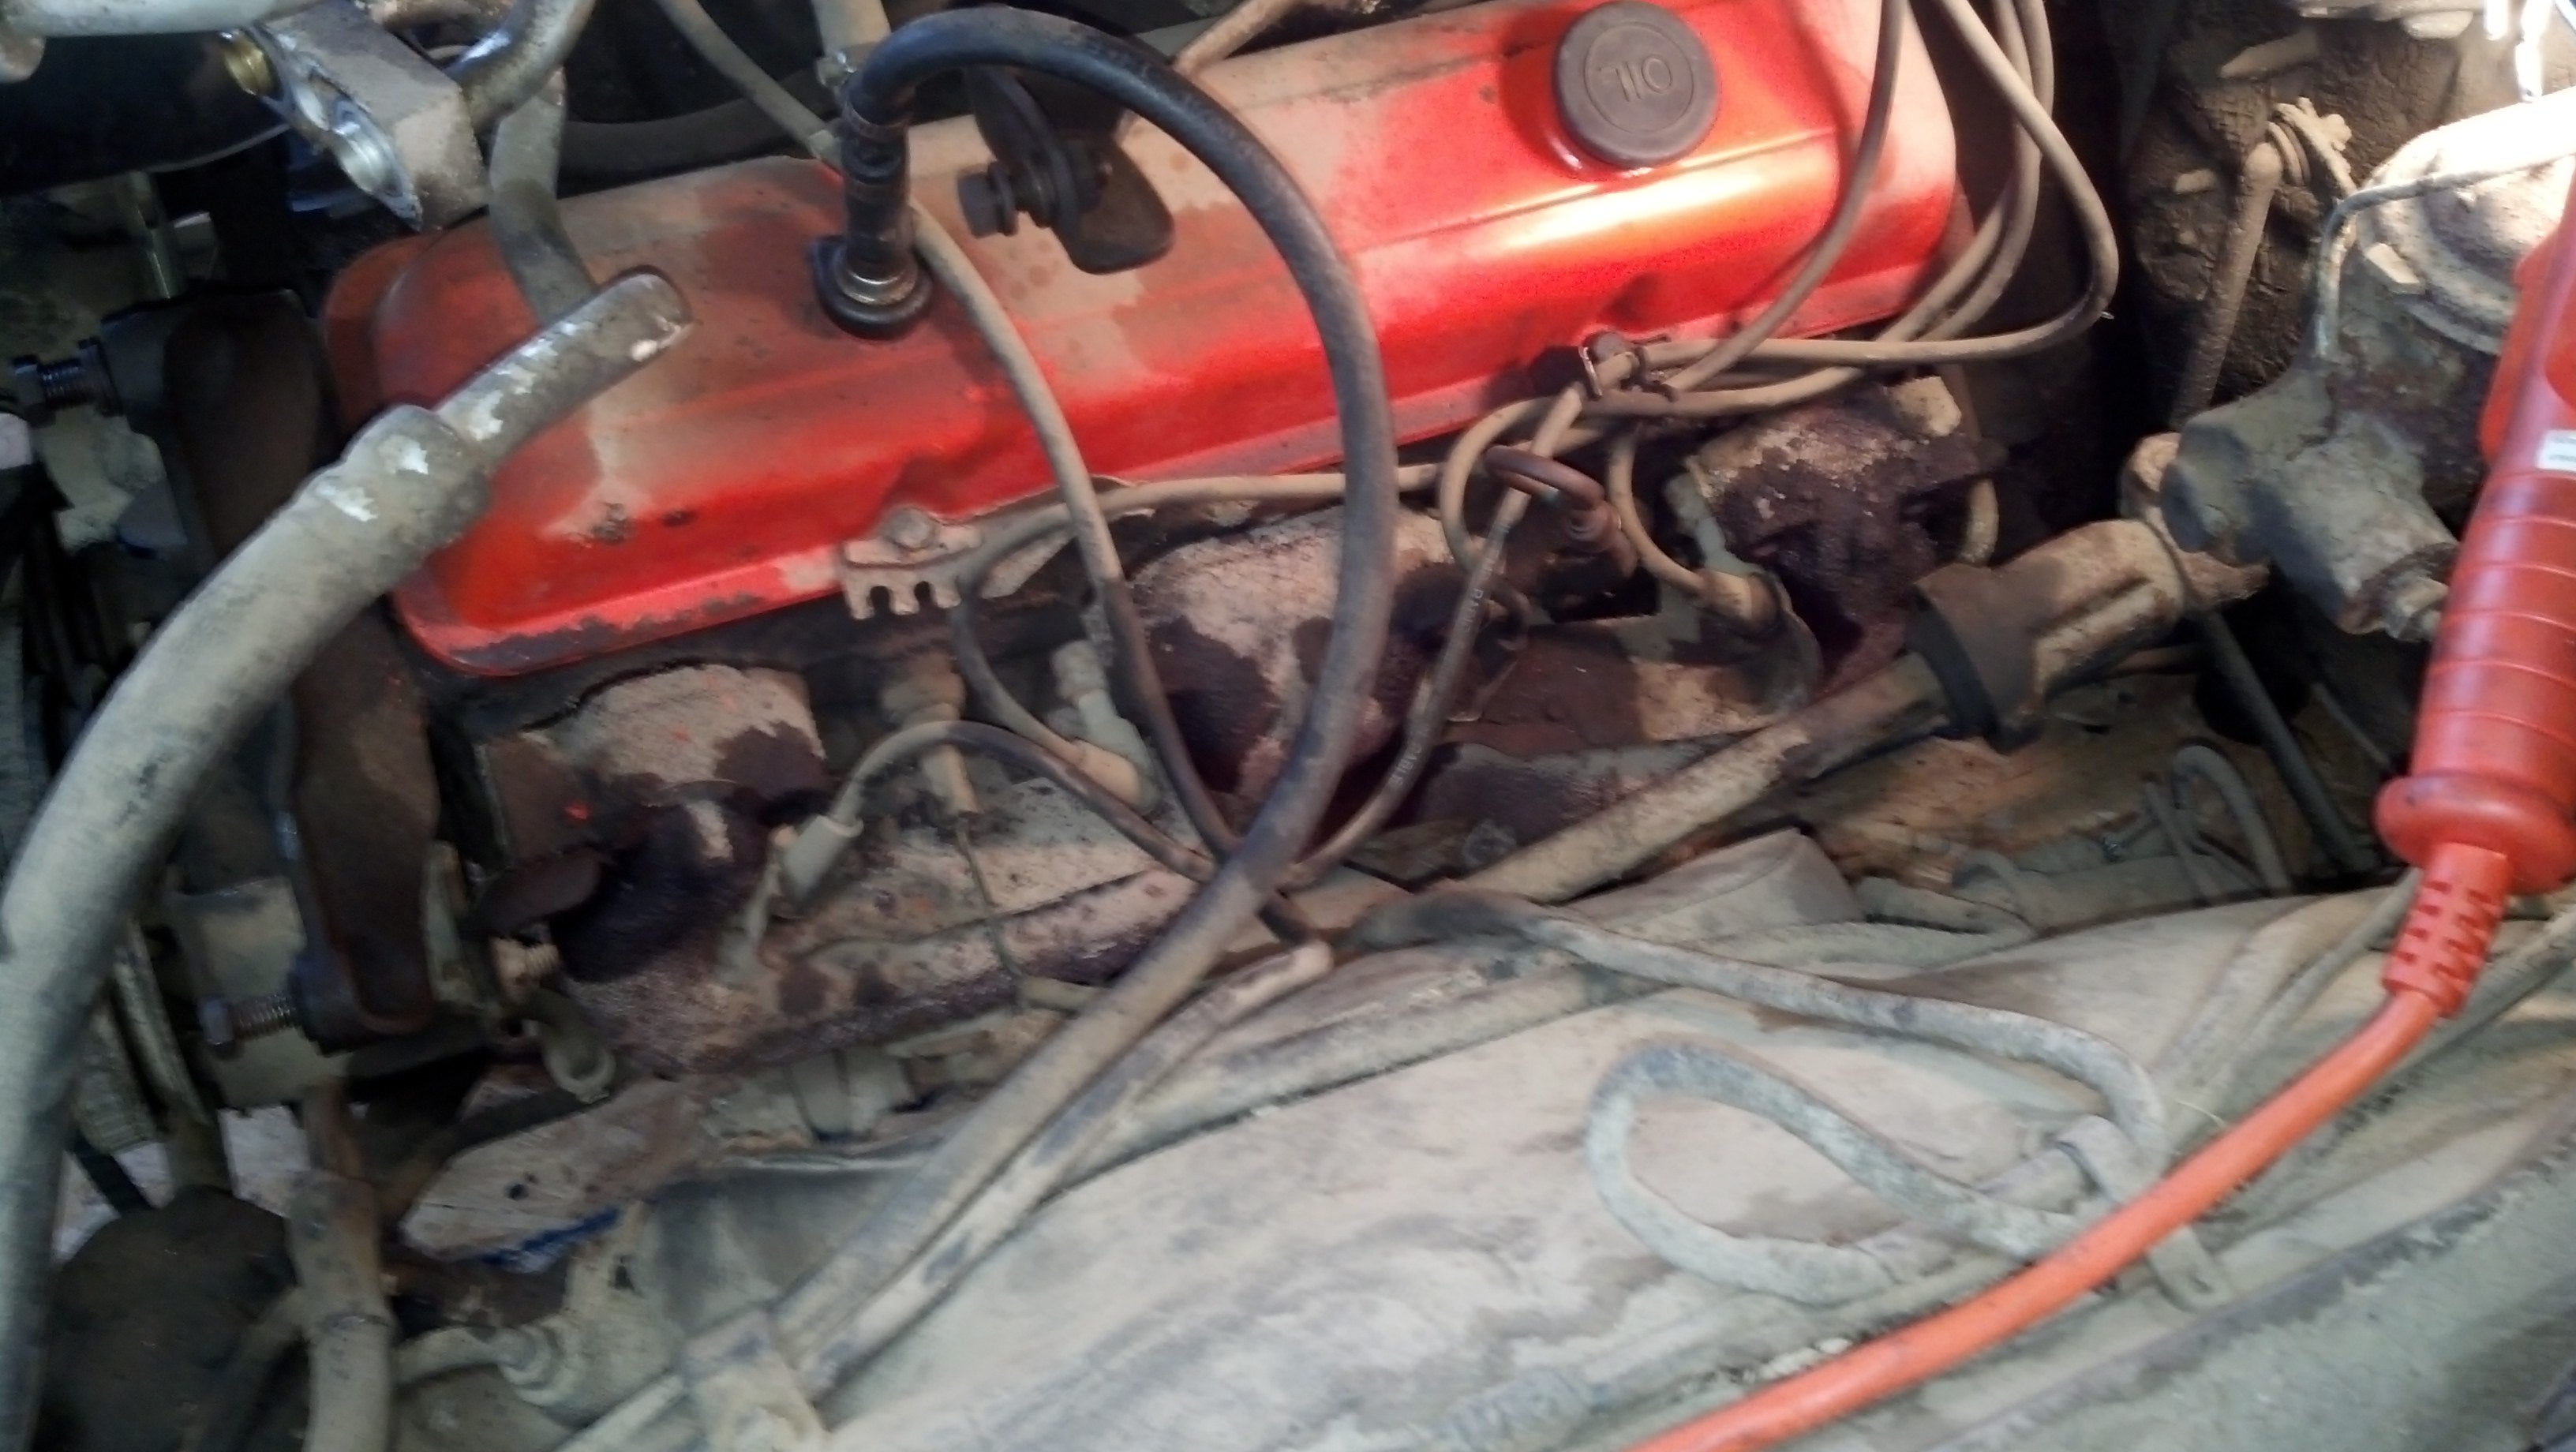
I was pleasantly surprised to see that I didn’t have to remove the dipstick, too.
With the manifolds free from the block, but still tied together with the Y-pipe, it was time to lift up the car. I didn’t plan to unbolt the manifolds before the Y-pipe, but I seriously didn’t expect the bolts to come out so easily, and planned to let more Kroil soak while I worked underneath. Instead, they all just came out and threw off my plan, in a good way.
This is the oops part of the day - while lifting the front of the car via the crossmember the jack decided to slide off the front of the crossmember. The car didn’t move backwards, so it’s either due to the wood floor preventing the jack from rolling forwards as needed, or I just put it too close to the edge to begin with.
When it slipped down (this is the worrying part) the jack ended up on the front pulley of the engine, holding the car (mostly) up by it - this isn’t good for it, and there’s really no way to know until I start it up next if there’s damage here. If so, this whole project will have to be put on hold until I have space to pull the engine.
There was one other issue when it slipped as well - as usual, I asked my dad to tend the jack stand on the passenger’s side, and let me know when it was high enough. When jacking a car, you always let the stand way out of the way until it’s under the frame, so if the car falls, the jackstand doesn’t hit the car. Well, he forgot this, and the jackstand would up punching through the bottom edge of the fender just off the side of the frame (it fit fairly well between the visible sheetmetal and the frame) - the bottom edge of the fender needed replaced anyway, but I’ll need a cowl corner now too when I do the body work. I’m slightly concerned there may be more damage I don’t know about yet, too. That edge of fender is no longer secured to anything and may flap a bit when driven.
Overall, nobody got hurt and you can’t tell walking past that there was any damage, so it’s not too terrible. Mainly though, it didn’t fall on anyone, which is good.
Back to the progress! After using another jack to lift the car back up off the jackstand-in-fender and getting it out, then putting it correctly back on the stands (and lifting the rear), it was time to remove the Y-pipe.
All common sense says that the nuts/studs which hold the Y-pipe to the manifold flanges will be hopelessly seized by this point, and since the manifolds are going away the plan was to put the 24" breaker bar on and just break the studs.
Wouldn’t you know it, every nut came right out without issue, with no penetrating oil or anything.
“Why?” - Pipe
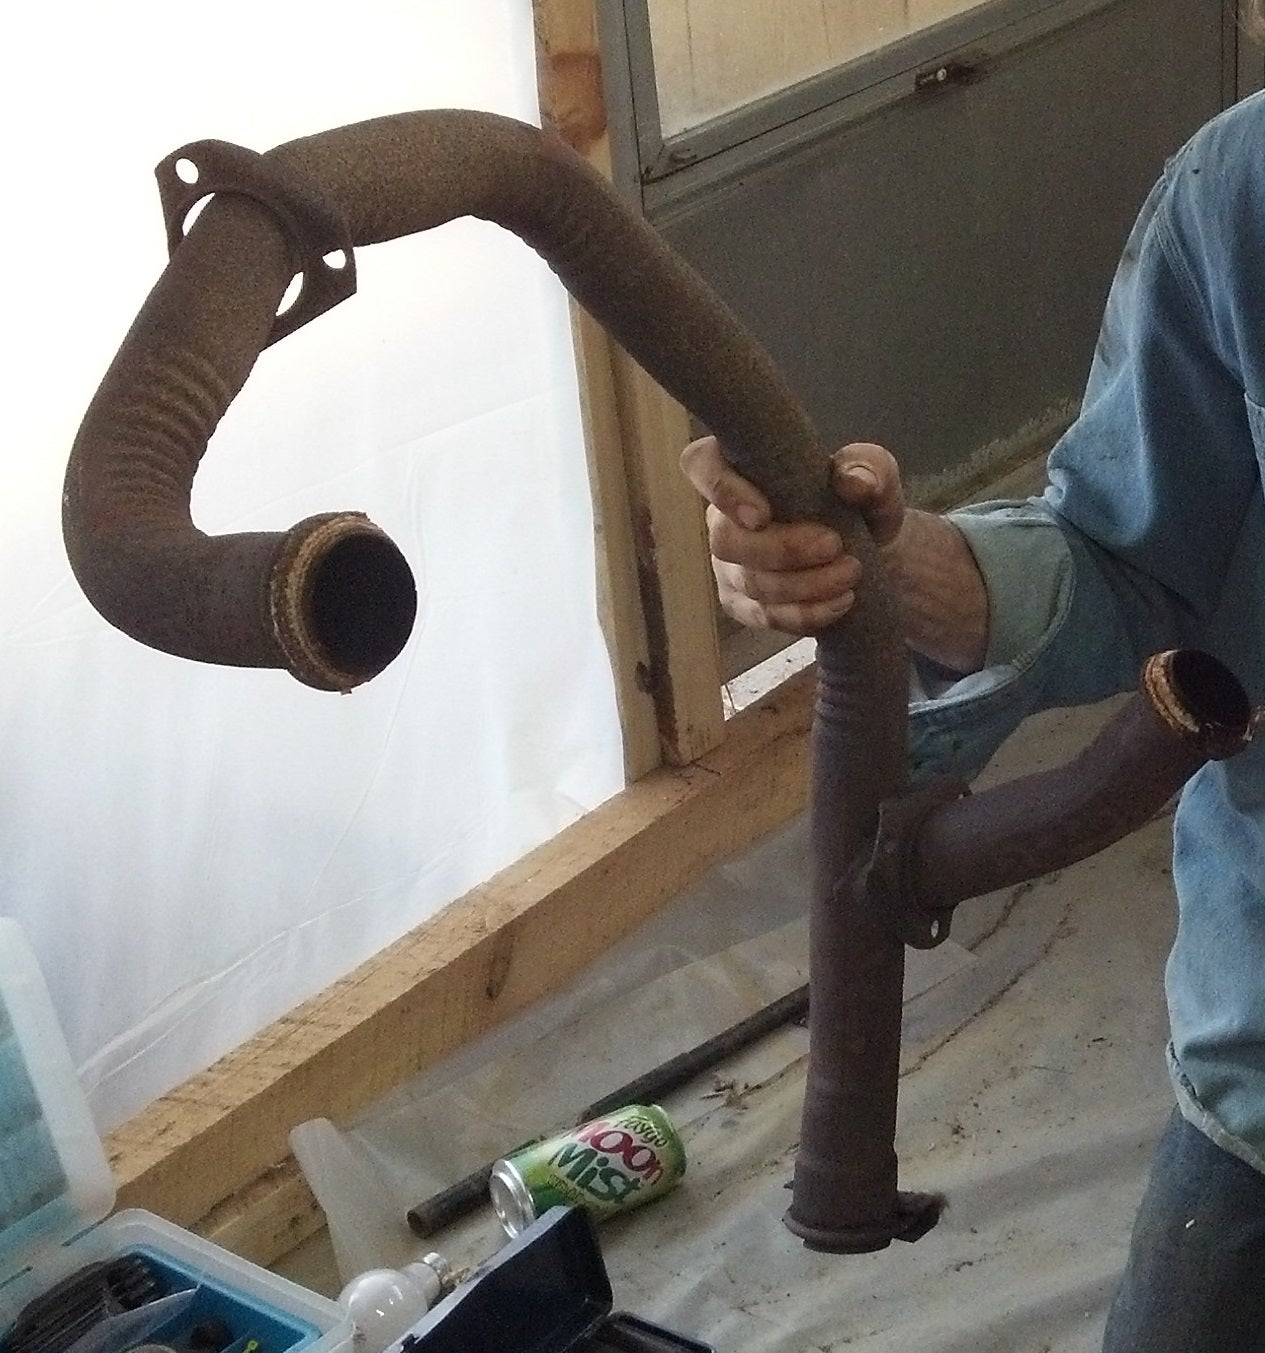
Pulled the spark plugs to make room to get the manifolds out, removed the heat shields, and lifted out the manifolds. They’re actually in pretty good shape, I may sell them to someone looking for clean 1971 smallblock manifolds, if I can find anyone looking for such a thing...
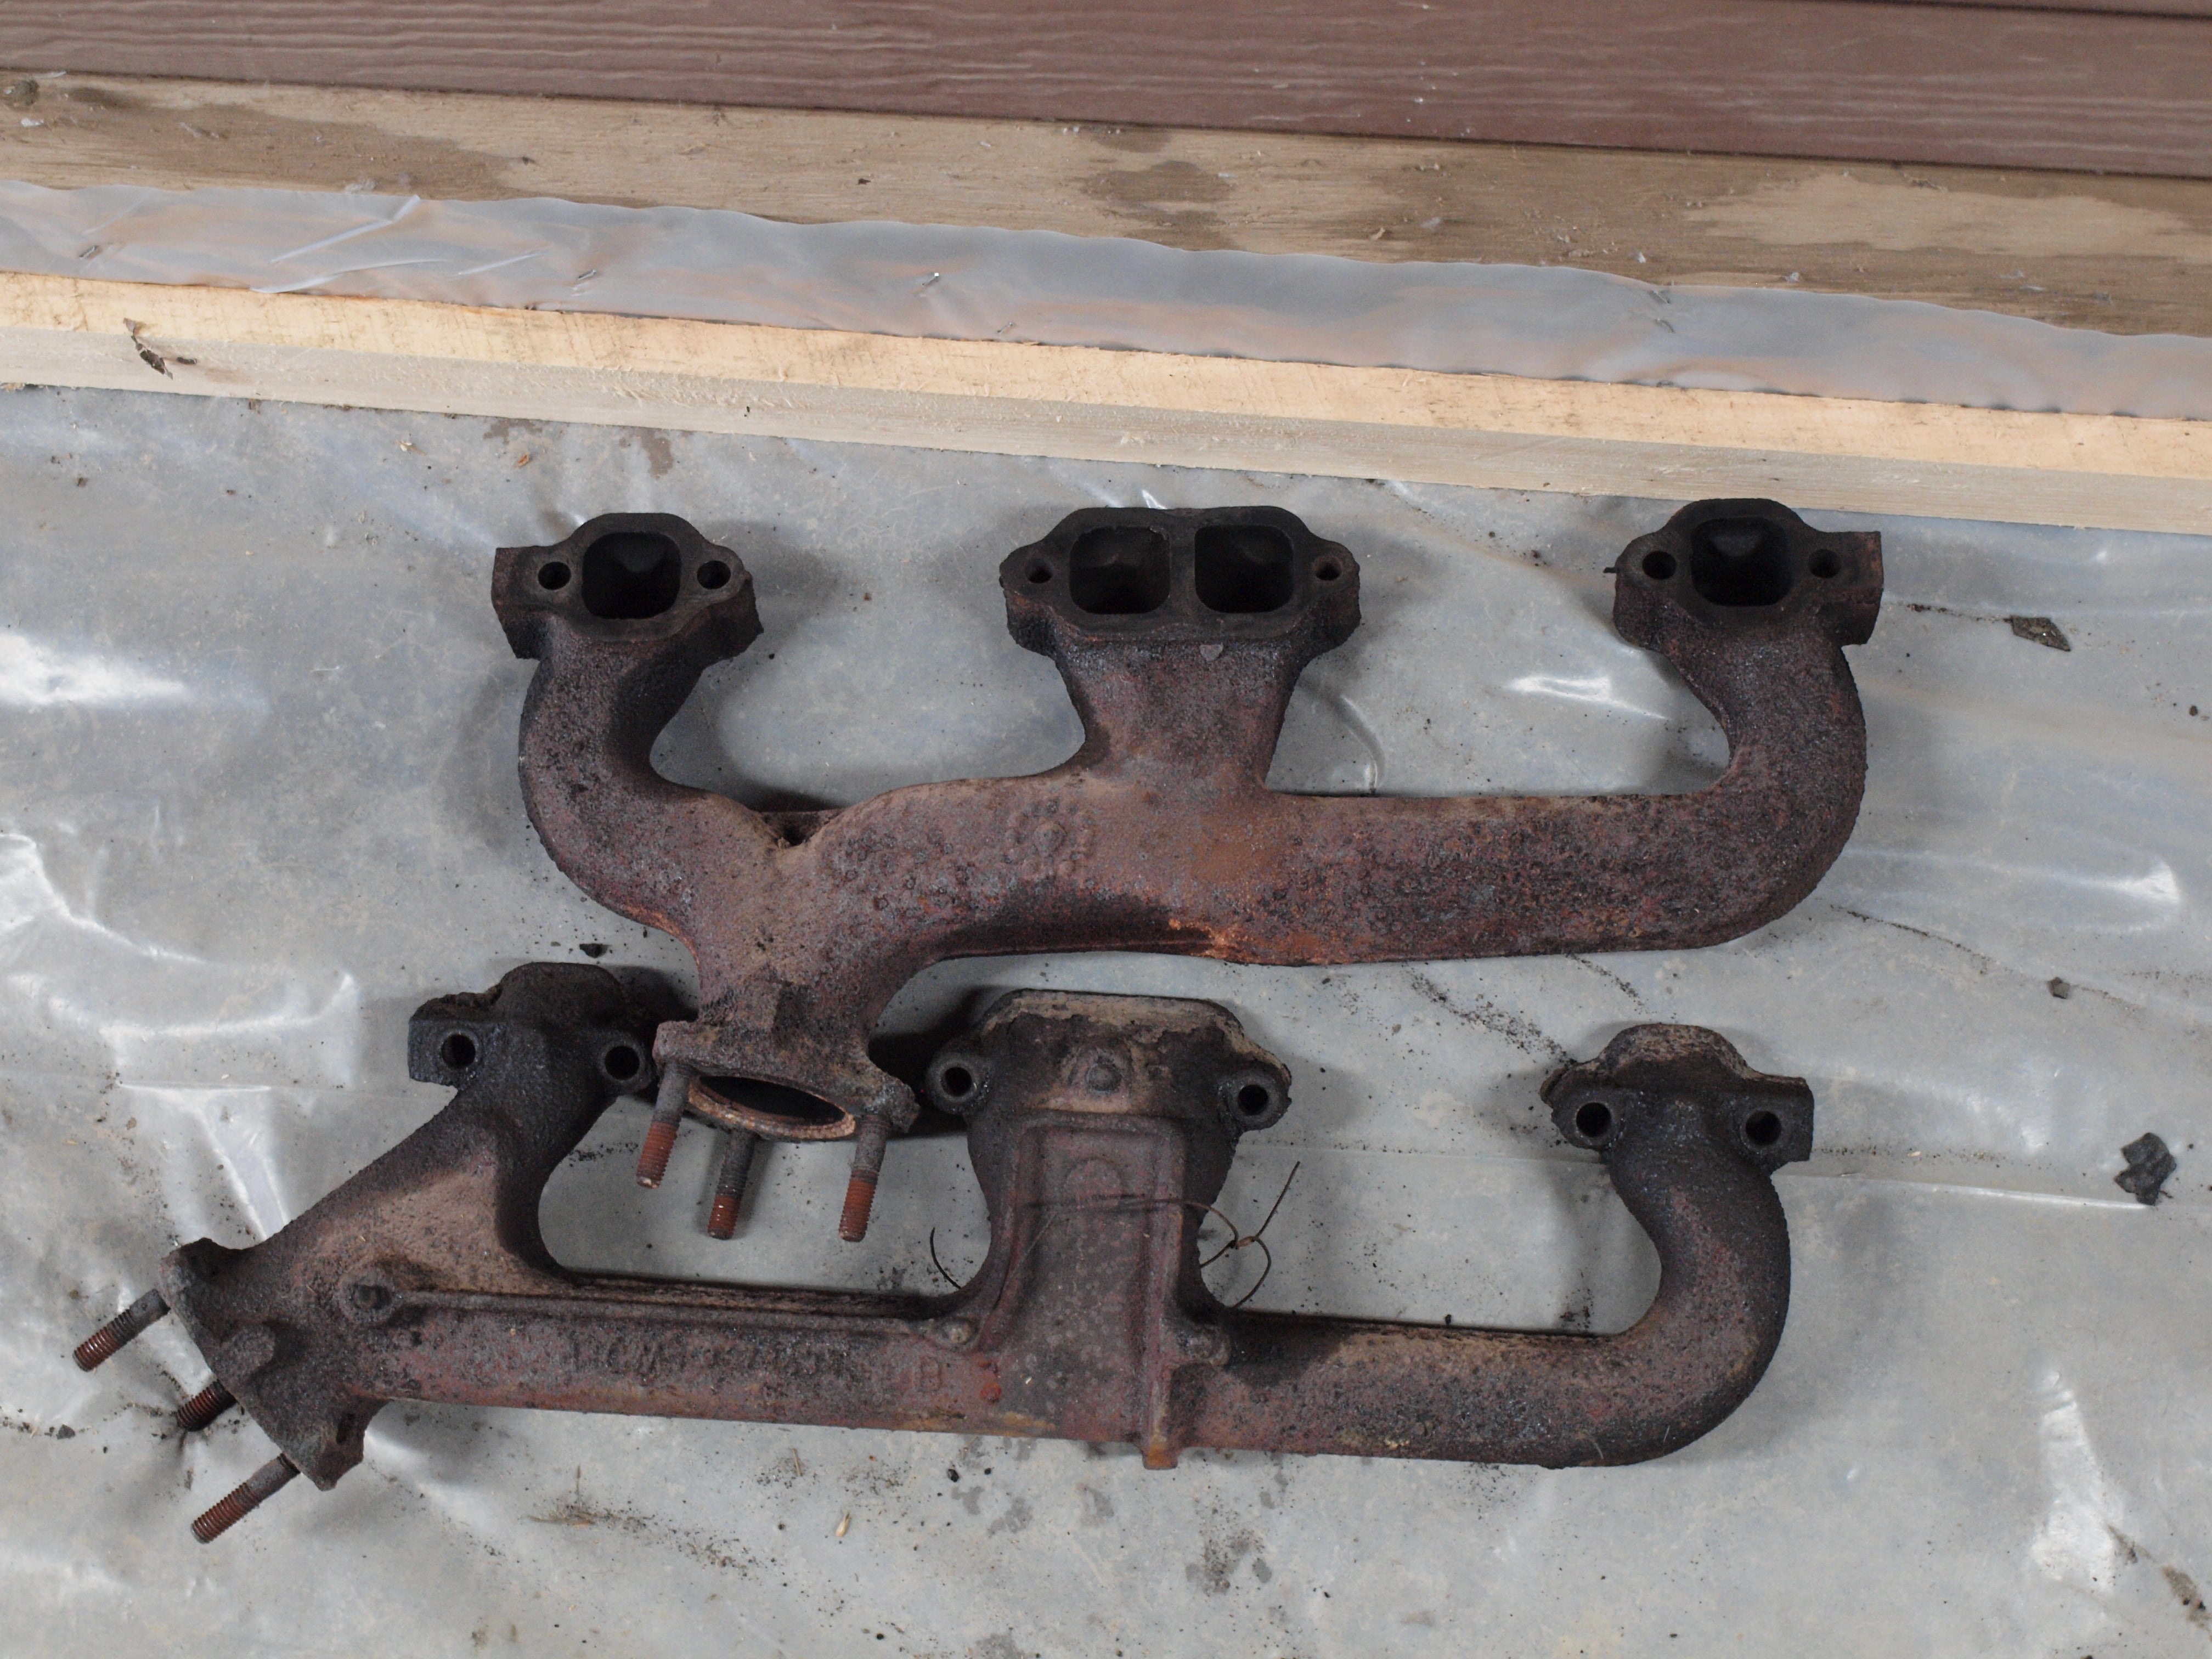
Nevermind the bailing wire which used to hold the bottom of the stovepipe
About 49% of the reason I’m putting on headers is because I figured there was no way I’d be able to get those flanges apart without having to remove the manifolds to replace studs anyways, so there’s that.
The plugs I pulled out weren’t the greatest though, most were very oily and generally fouled, though #5 looked great! It has been sitting for 2 weeks since it was run last, but still... (obviously these will be getting replaced).
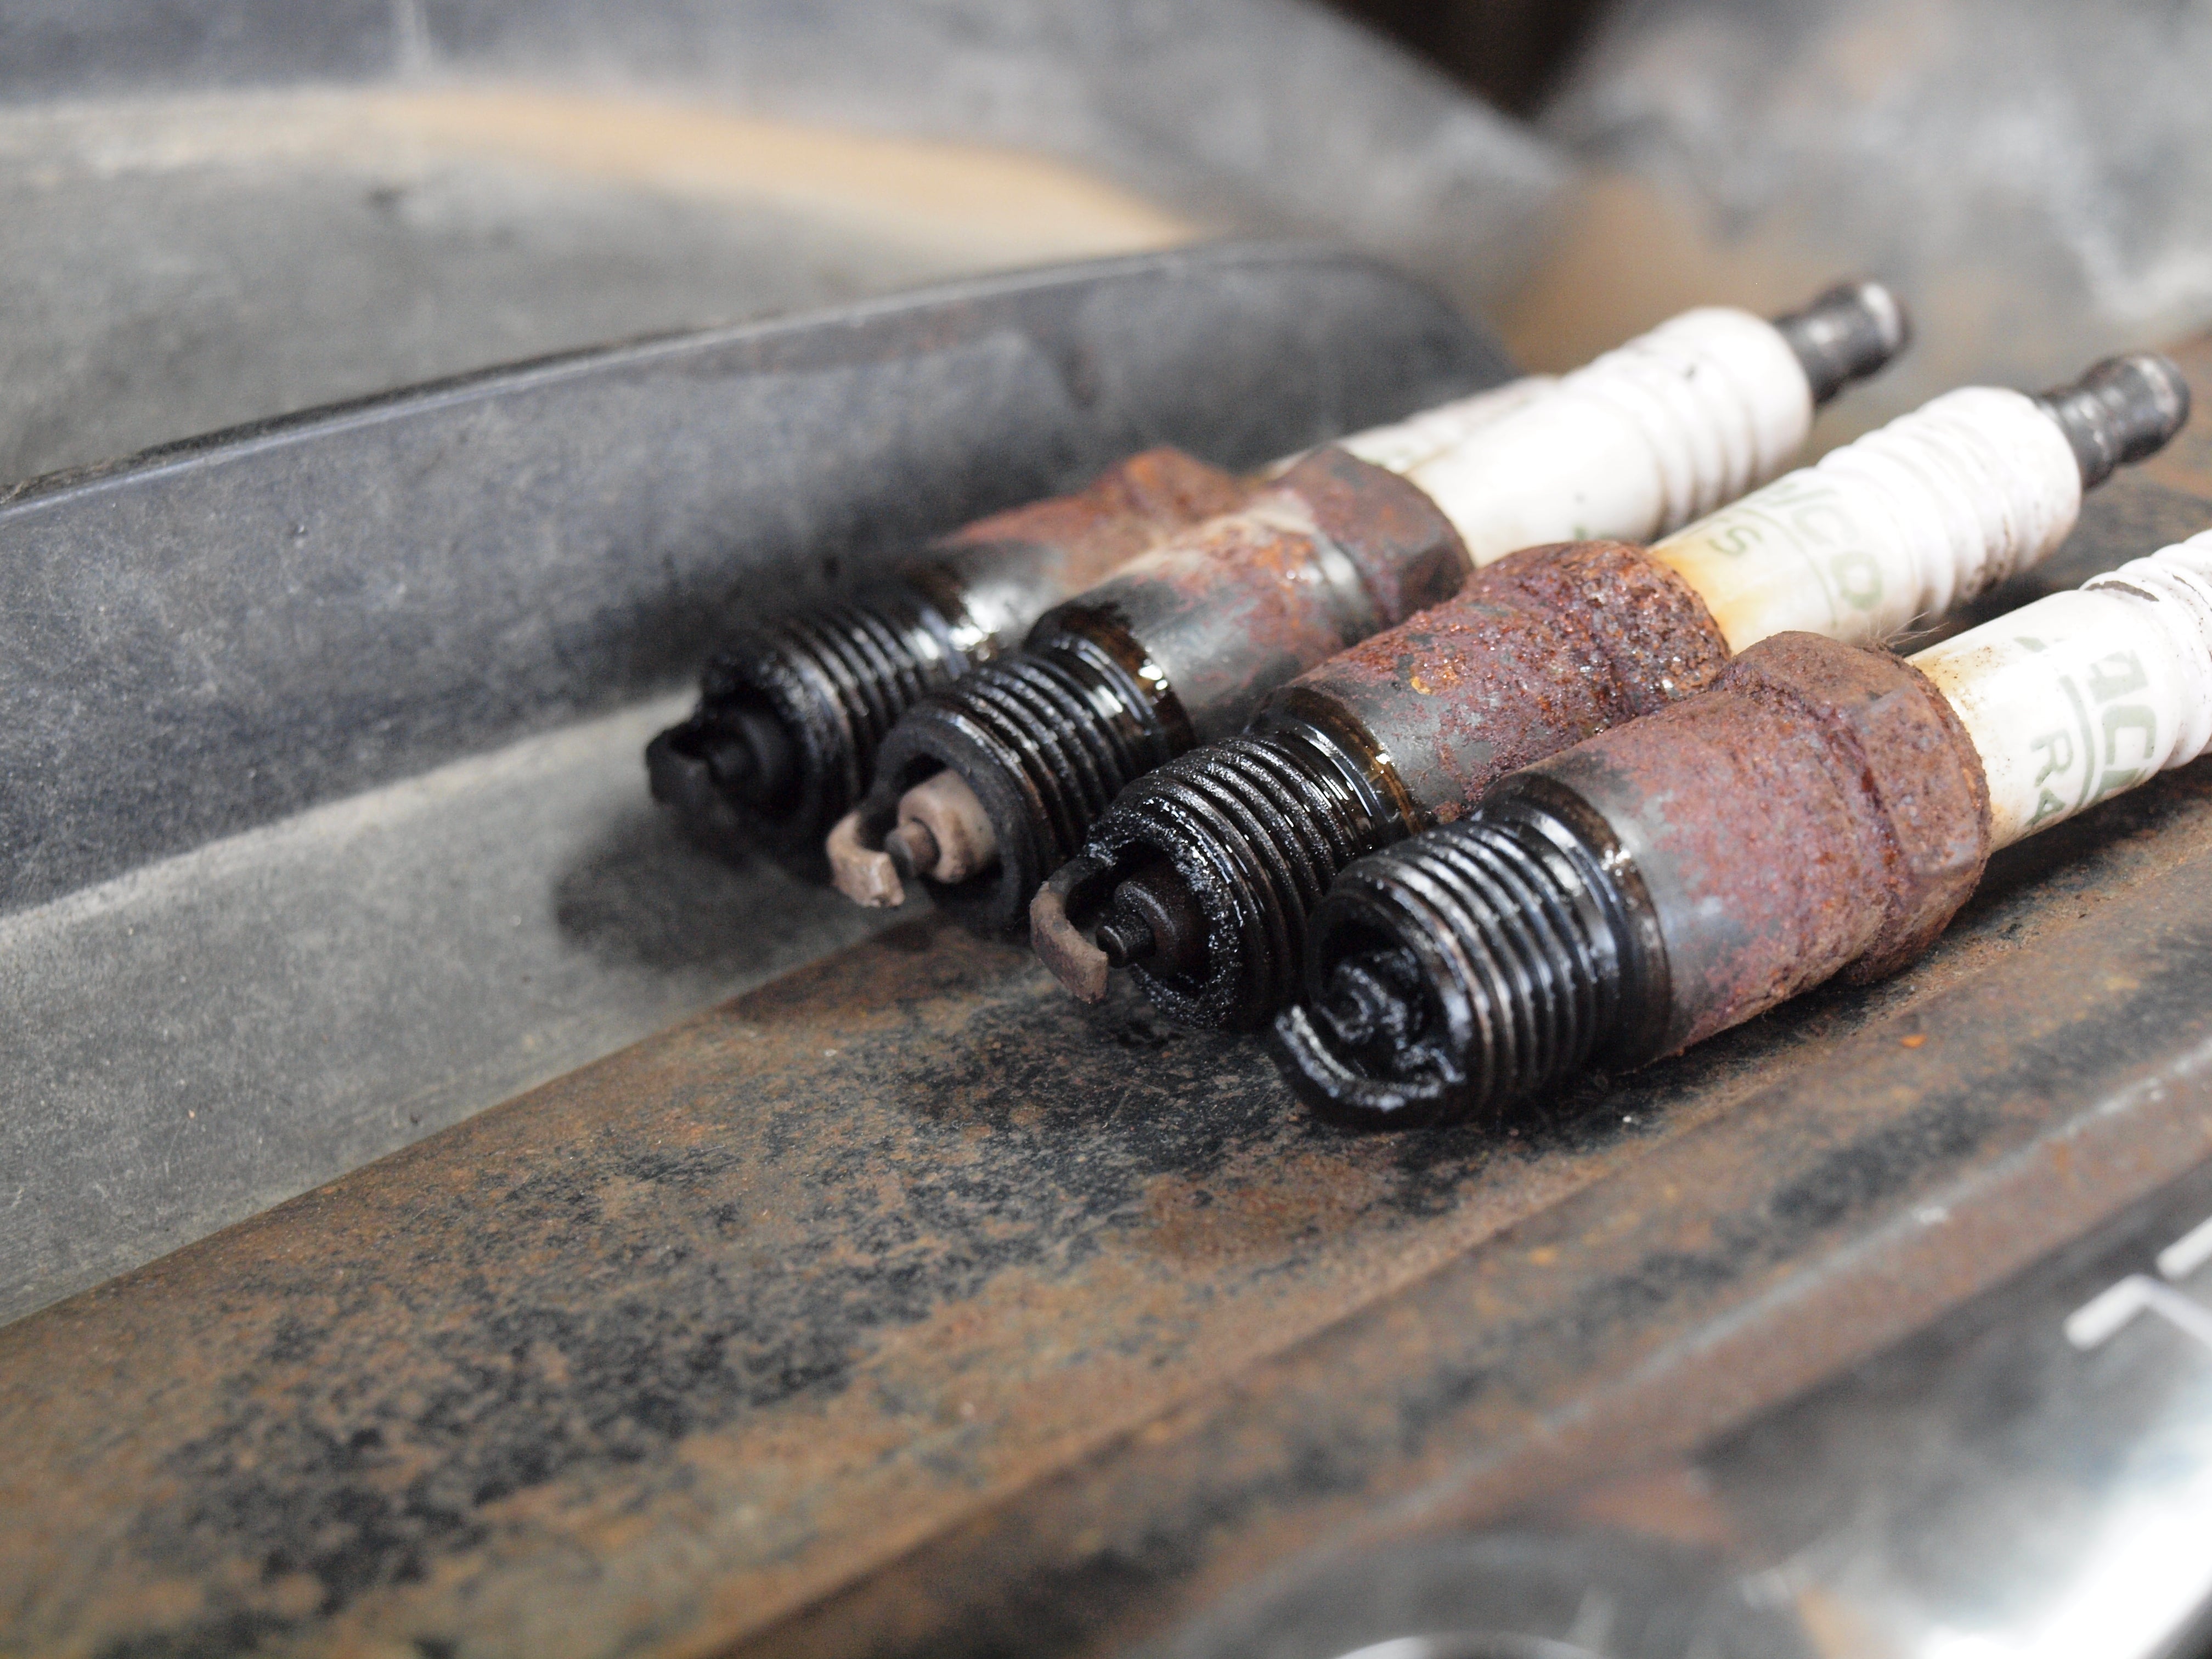
Left to right: 7, 5, 3, 1
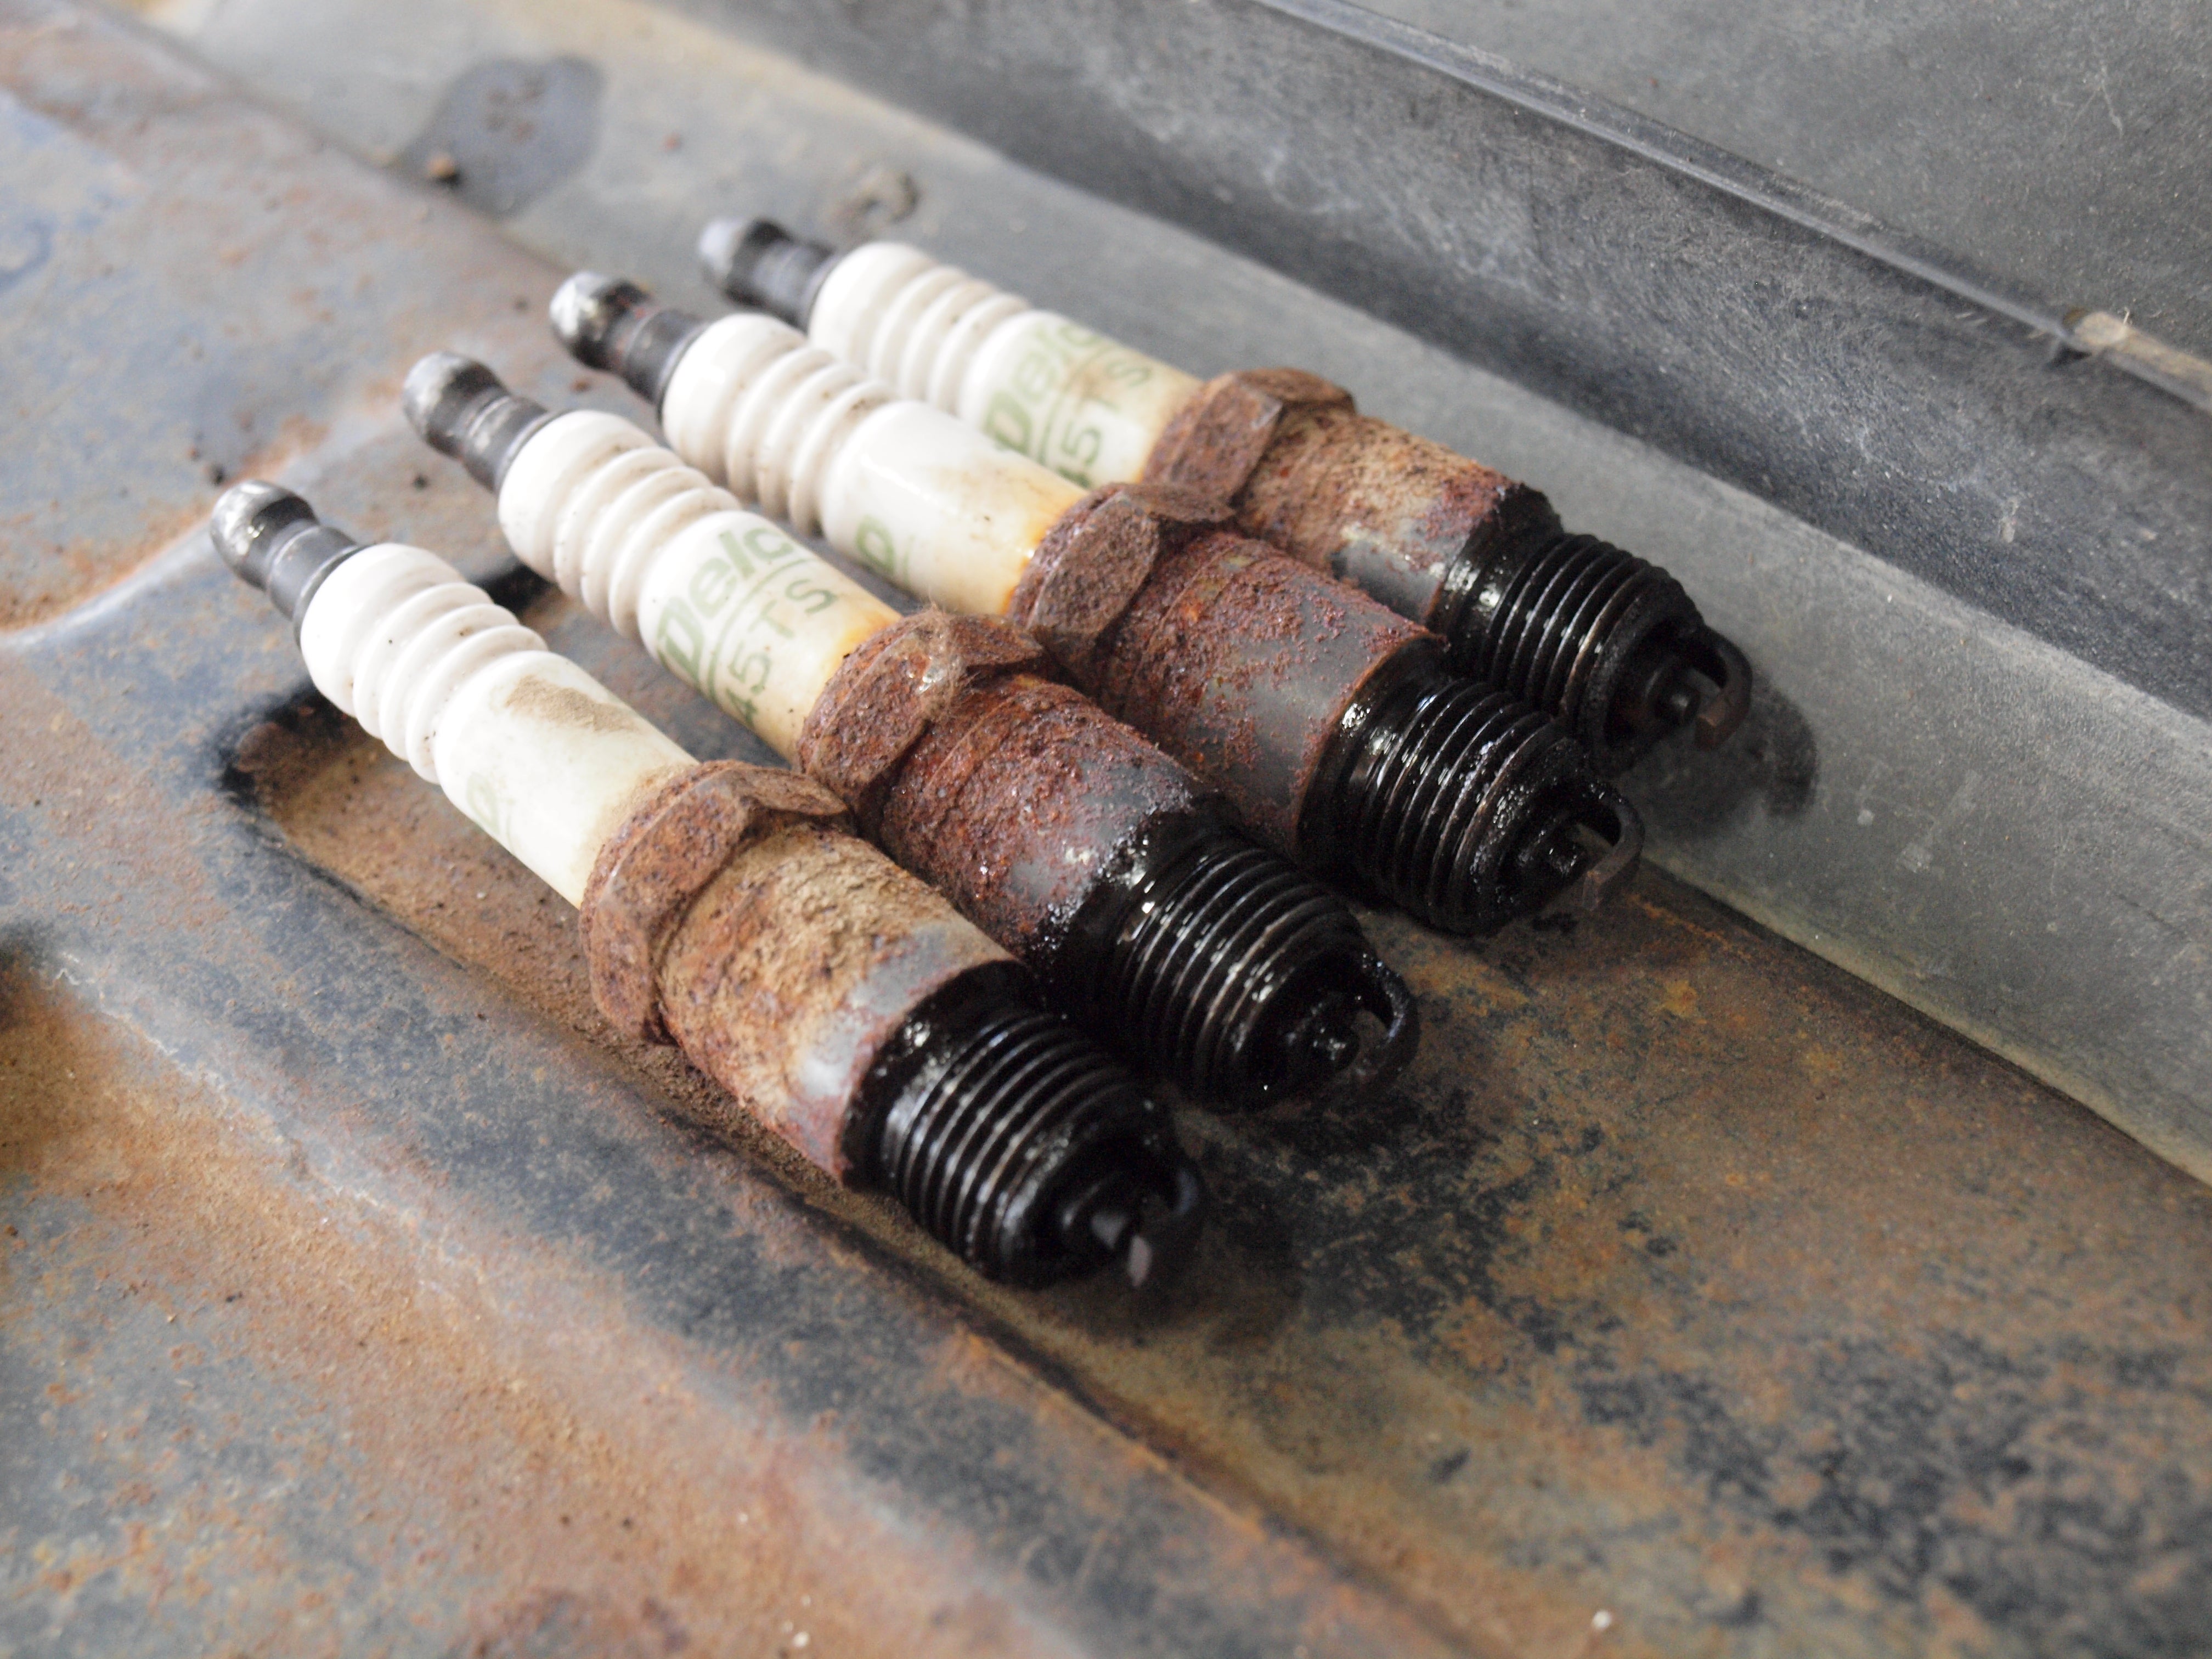
Left to right: 2, 4, 6, 8
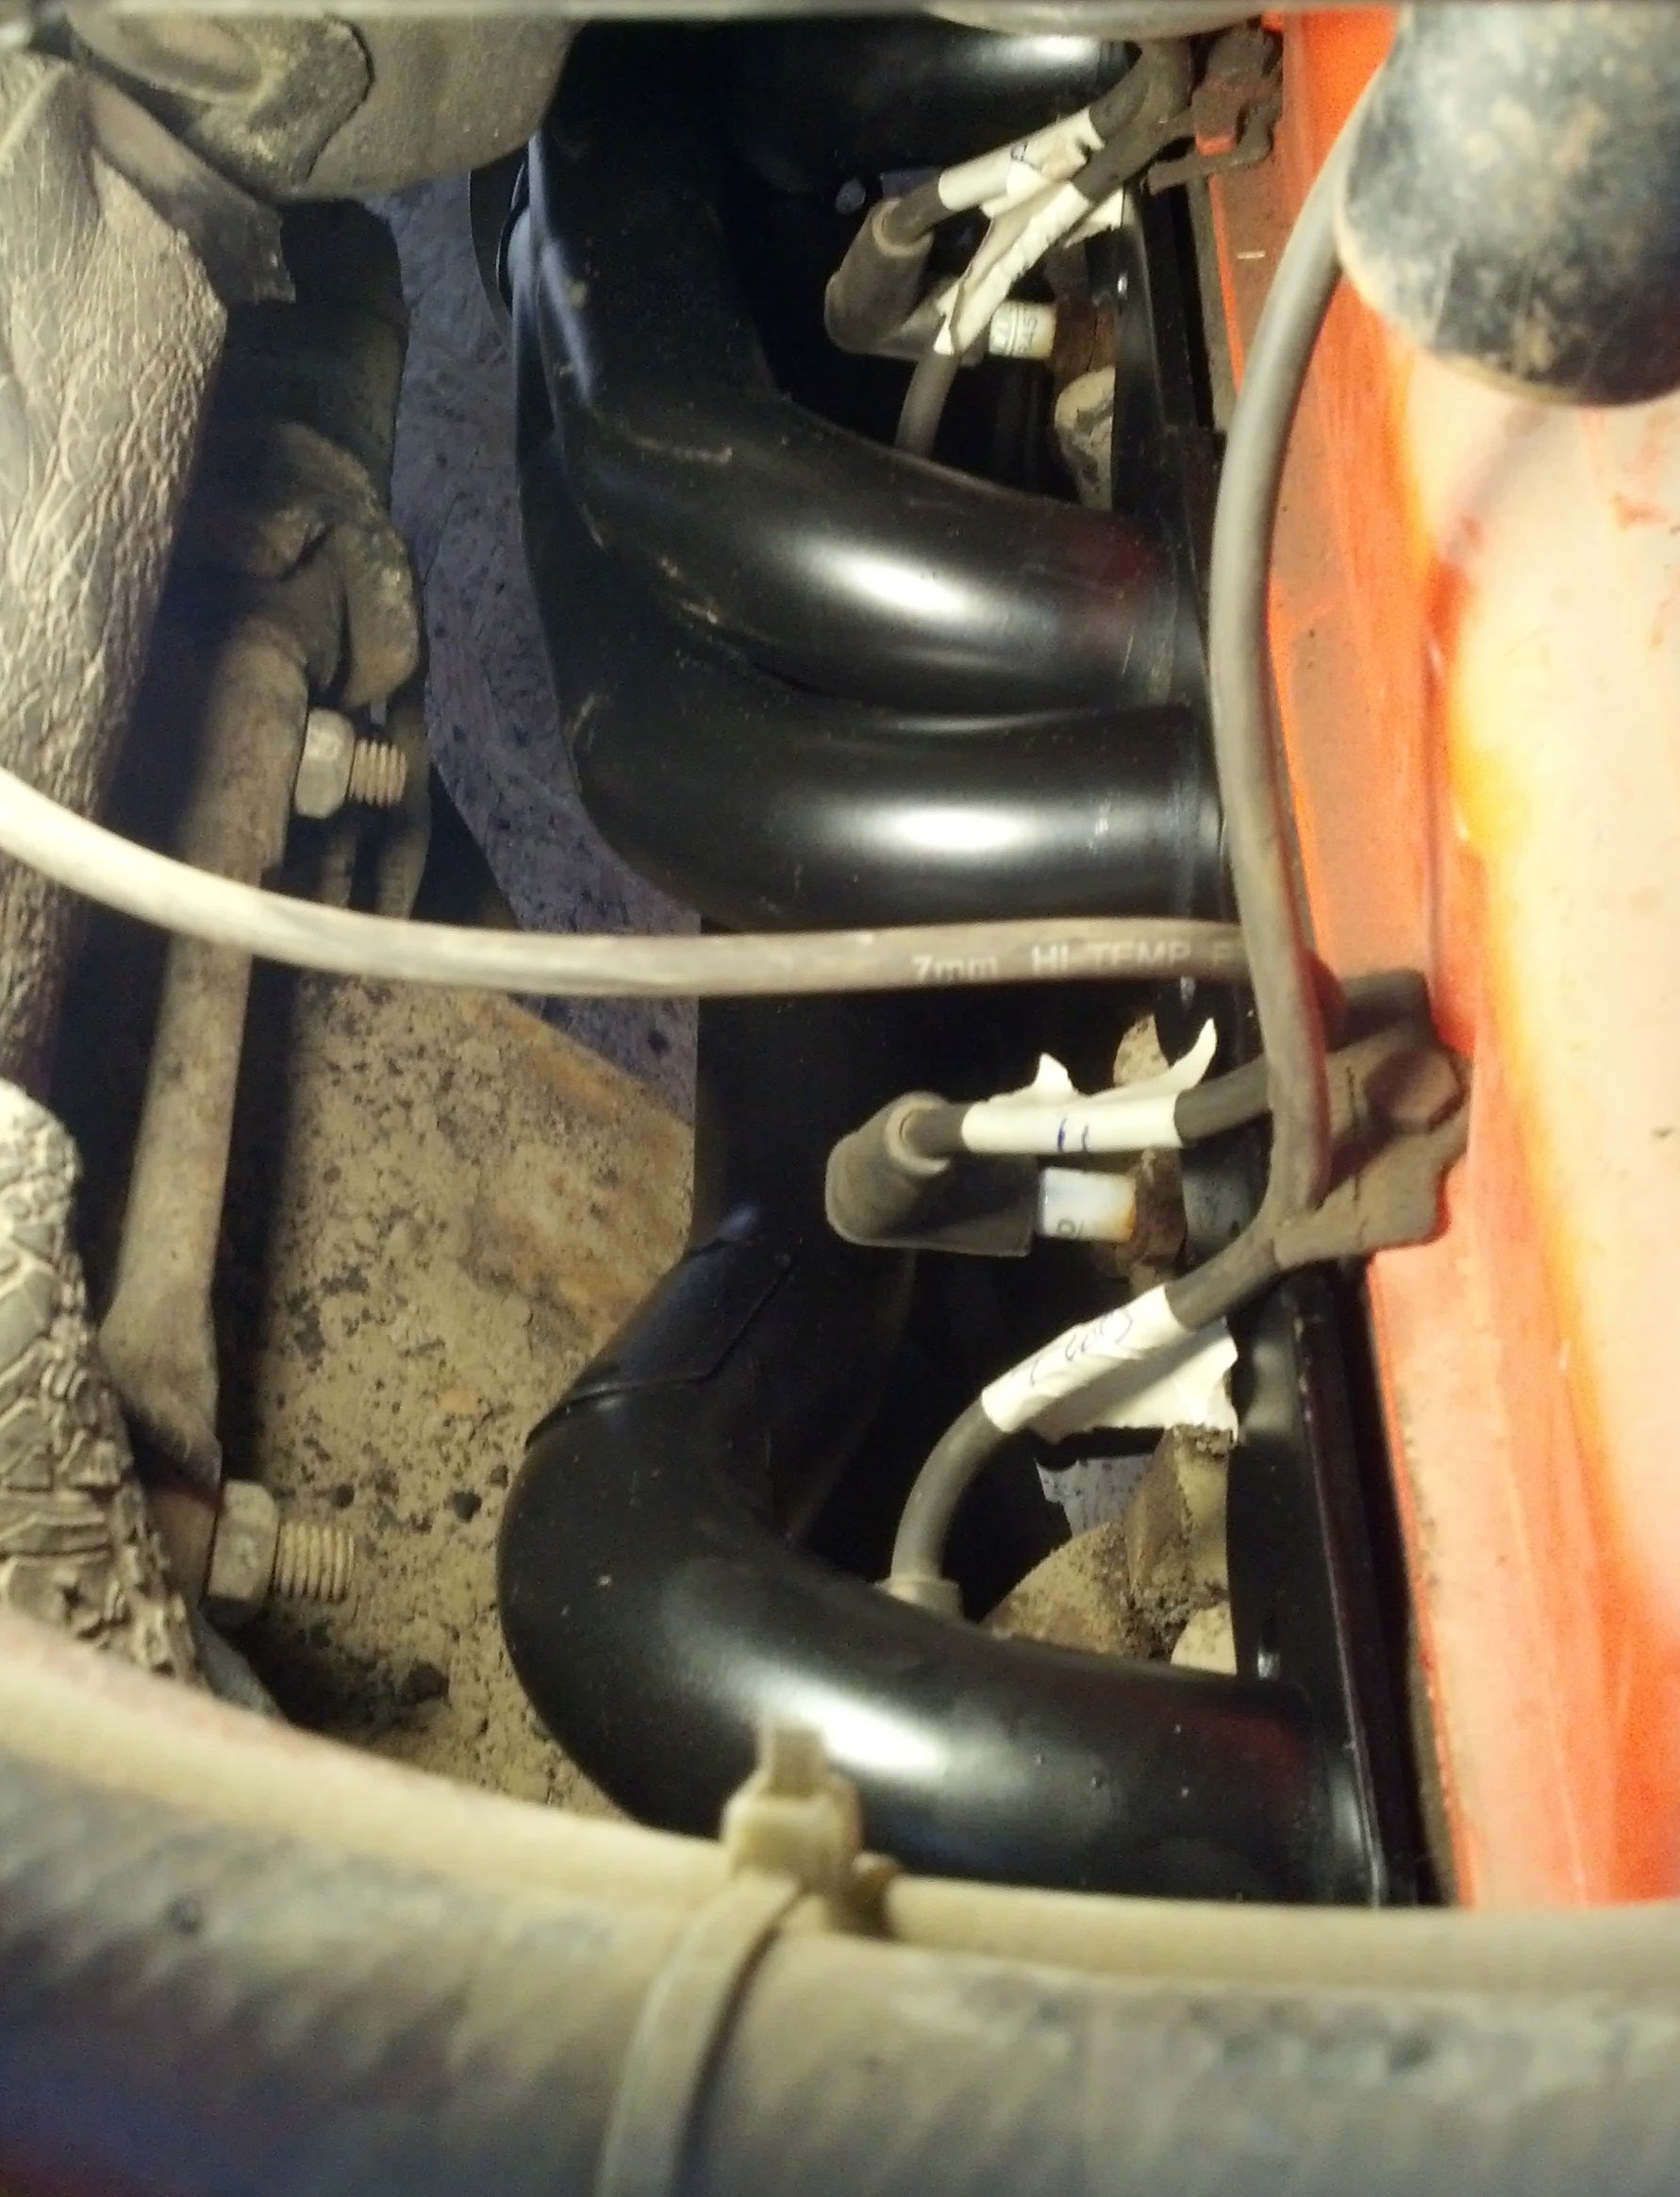
With everything out of the way, the moment of truth - do the shorty headers fit? On the driver’s side, things seemed good until I tried to move the kickdown linkage to the Powerglide - it was binding up on one of the primary tubes.
Out came the hammer, and it interfered much less, but was still binding up on some of the boogerweld at the collector - out came the file, and the weld was smoothed out. Put it back in, and hey it’s still hitting the rod in the linkage.
Out came the dremel and another file, and the rod was made a bit thinner. Still hit. It was filed more, I hammered on the pipe more, and with as much (if not more) time as taking the manifolds off took, it cleared and I was able to test-fit the driver’s side assembly.
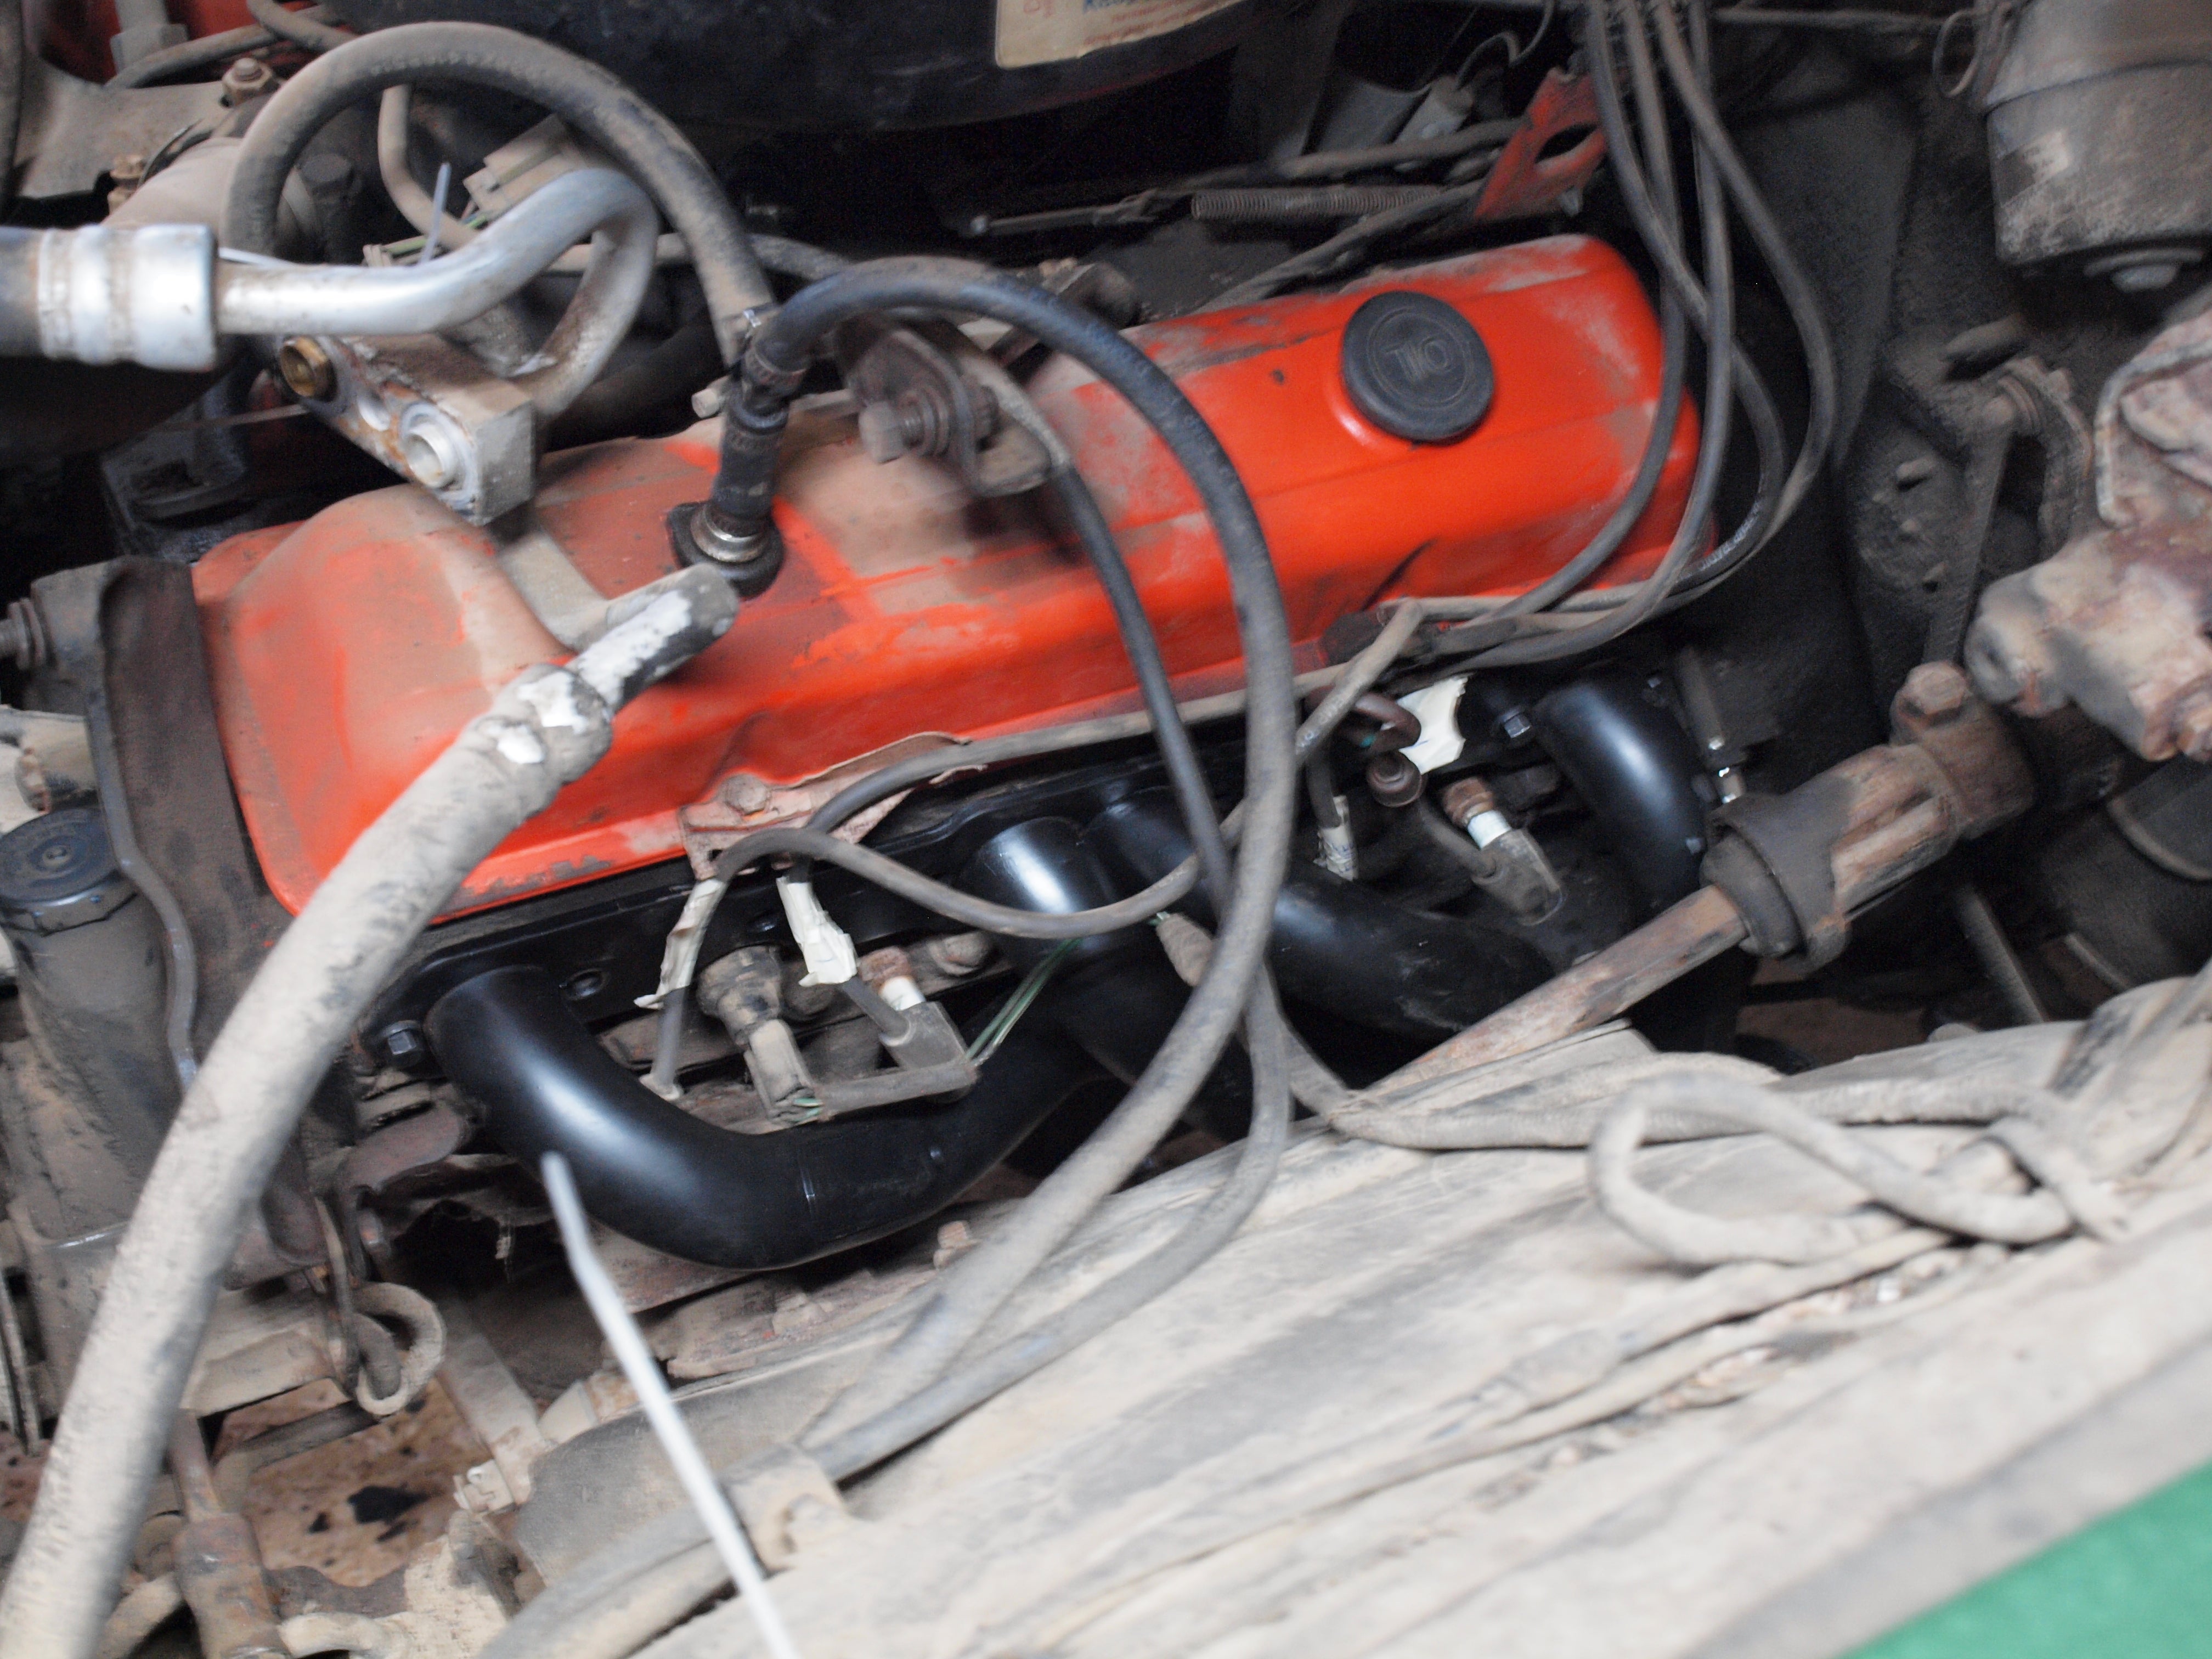
Headers look good, too
As you can see, I still need to pick up those fabric protectors for the spark plug boots, but the plugs and boots do all fit without shorty plugs, so that’s good. There’s also that temperature switch (which is for the “HOT” idiot light) which may get a little melty - still have to figure that one out. When it’s actually assembled, the plug wires will be much neater, and some of those evap/vacuum hoses won’t be there.
Moving on to the passenger’s side, I was concerned about clearance with the A/C evaporator housing. These concerns were unfounded, as the header fit perfectly.
The clean black paint emphasizes the otherwise very dusty/dirty engine bay
The next 4 hours were spent with a putty knife scraping off more of the old undercoating, particularly the areas behind the rear wheels outside of the frame rails (since the tailpipes will block future access here) and the floor pan behind the rear seat’s footwell (since the mufflers will block this area). As before, the metal is, for the most part, very clean underneath.
The scraped areas were given a coat of POR15 after some degreasing, and the 14-hour day came to a close.
What’s Next?
This coming weekend I’m going on a trip which will occupy the whole weekend, so next work will be done in two weeks. The plan as of now is to double-check all the clearances with the headers, strip the shipping paint, and coat them with VHT. There are still some odds and ends to clean up as well, such as cleaning and POR15'ing the battery tray, replacing the main battery cables, etc. Once the underside has been POR15'ed to my satisfaction, I’ll hang the new exhaust and actually install the headers. From there, the pipes to go from the shorty’s collectors to the rest of the system need fabricated, and Step 1 will be complete.
Once the exhaust system is tested thoroughly, the next step will be the complete overhaul of the brakes, including all new hard lines, all new flex lines, completely rebuilt rear drums, and an upgrade up front to discs. To top it all off, the master cylinder (which needs replaced anyways since you can’t use a drum/drum MC on a disc/drum setup) will be getting mated to a booster.
 LongbowMkII
> MM54
LongbowMkII
> MM54
05/08/2016 at 19:07 |
|
Sounds awesome. Keep up the good work